Step by step process of making a sea container
Step 1: Making the Side Panels
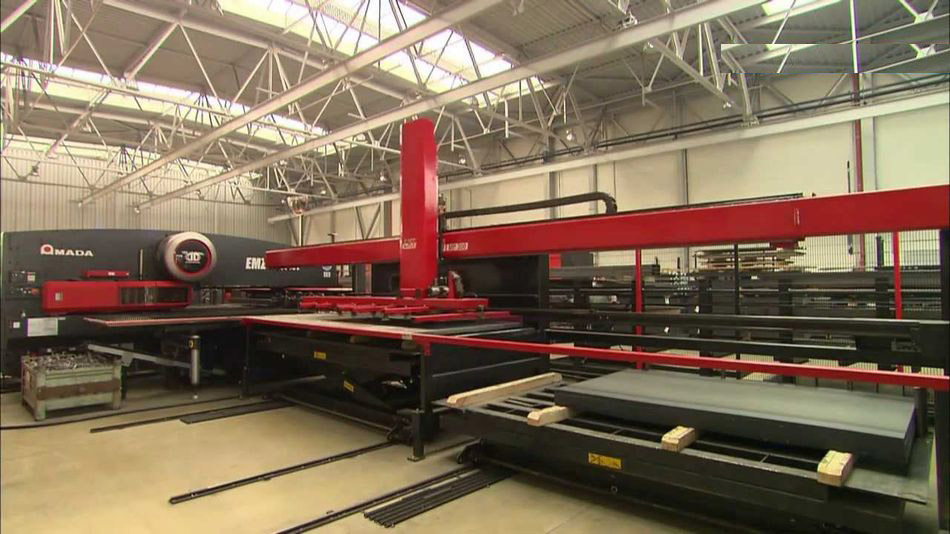
The first step in the container manufacturing process is to create the side panels. Container panels are made from large steel sheets, typically Corten steel. The sheets are laid out, cut, sandblasted and then corrugated to increase strength. After that, the sheets are welded together, forming a panel.
Step 2: Assembling the floor
After the walls comes the floor. The floors of the shipping containers consist of I-beams, two of the longer ones are perpendicular to each other, and smaller I-beams are welded between them, forming a solid base.
Step 3: Creating Doors and Corners
Next, it's time to make the doors and corner posts of the container. Container doors are made of corrugated steel cut to size. Then corner posts are welded to the I-beams, and doors are welded to the internal I-beams. The integrity of the corner posts is critical because they carry most of the weight when containers are stacked on top of each other.
Step 4: Box Assembly
Once there are walls, floors, doors and corners, it's time to assemble the box. The door frames are pushed into place and welded on, and then the side panels are welded in their place. Last but not least, the roof panel is lowered and welded to the container.
Step 5: Paint and primer
Having collected the steel box, we went about half way. Then the paint workshop gets down to business, where the container is primed with undercoating, and then several coats of paint are applied to protect it from aggressive elements such as salt and water. Paint is vital in preventing container rust when traveling by ocean.
Step 6: Installing the flooring
Now that everything is assembled and painted, it's time to install the wood deck. Plywood panels are installed and varnished to keep out insects and pests that can cause rot or damage.
Step 7: Logos and ID
After the paint and primer are dry, the company applies the necessary stickers, logos and identification codes. For all containers around the world there is a unique encoding, so its manufacturer is known no matter where in the world the container ends up.
Step 8: Locks and Sealant
We're almost done, but now for the finishing touches. Door handles and locking mechanisms are installed, and then a protective sealant is applied to protect against water.
Step 9: Testing
Before the container is approved for use, it must be checked for watertightness. The container is thoroughly soaked with water and checked for leaks. If the test is passed, the container is ready to travel the world!


